The complete WiFi cheat sheet! Everything you need to know to get started.
When it comes to choosing the right WiFI antenna for your wireless networking solutions, the abundance of variations and technical terminology can seem daunting. The great news is that with about 5 minutes of reading this blog post, one can begin to feel comfortable enough to decide on what is right for you.
We’ll start by first covering some of the limitations that must be understood in order to make sure a long distance WiFi solution is even viable. In order to even give yourself a chance at a successful connection with enough bandwidth you’re going to need to meet the following 3 prerequisites:
Line of sight - WiFi is heavily dependent on having a clear line of sight between the antenna and the hotspot you are trying to access. To understand this a bit better, think of WiFi like you would sound waves coming from speakers. The more walls, trees, buildings, mountains and even other speakers you have between you and the speaker the less sound you’re going to hear. In some cases however you are able to overcome certain obstructions by using specialized antennas, more on that later, but as a rule of thumb the better the view the more signal you are going to have access too.
Power - When it comes to power we are often limited by the FCC in how much your router can transmit and your receiver can use. While this may seem as a bummer, it’s actually a good thing! It helps to reduce “noise” from others around you ensuring that your signal doesn’t get “knocked out”.
The higher the power of your receiving end the more your USB adapter or access point can “listen” for signal. The same goes on the transmitting side, the more power behind your router or access point the more signal it can put out.
Elevation - The first two points are very important to get you access to the signal, but elevation plays a major role in the amount of actual usable internet (bandwidth) you will have on the receiving end. This is thanks to a phenomenon called the Fresnel Zone. Many think of a WiFi connection as a single beam of data between the receiver and transmitter. But in fact the signal spreads up, down, left and right as it makes its way to your devices. This handy calculator tells you how high you should place your antennas given all the variables that you will encounter.
PRO TIP! If you know a business with open WiFi, have a friendly neighbor who gave you their password or even if want to access your home WiFi from the guest house, barn or garage; it’s good practice to go stand outside the walls of the hotspot source with a WiFi enabled device and test how strong the signal is. If you have a smartphone, download an app like WiFi Analyzer which shows you in a more precise method how strong your signal is. Any signal stronger than -65dBm can be used on most long distance links. (signal strength is a negative number, the close to zero the stronger the signal).
Once you’ve decided to keep going the next thing to decide is how many devices you want connecting to the far away hotspot. This step plays a big role in the type of antenna, radios, cables and money you will need to spend on your WiFi kit.
The most popular option for long range WiFi connections in the last 10 years has been high power USB adapters like the Alfa. These little devices are essentially highly sensitive “listener’s” of WiFi which plug into a computer via the USB port. With these devices you stop using you’re computer’s weak WiFi receiver and use an external high powered receiver which can connect to even larger antennas for miles of range.
However with the growing use of WiFi devices like smart phones, smart TV’s, tablets, gaming consoles and smart devices - more people are looking for ways to use far away signals with multiple devices. For this we introduce what’s called a “wireless bridge”.
A wireless bridge is essentially pretty simple, you are wirelessly bridging two hotspots where one hotspot is connected to the internet. Devices that can perform a wireless bridge are most commonly known as one of the following depending on how you first learned about it: A repeater, access point, CPE, router or even gateway.
To make a wireless bridge you will need to have a dedicated radio that solely acts to “bridge” between the hotspot and your new hotspot’s transmitter.
The bridge will wirelessly grab the signal from the cafe/friend’s house/library/whatever location has signal and then feed it to a transmitter. The transmitter then transmits the signal again so that multiple devices can wirelessly connect to the internet coming from the original hotspot. Most commonly the bridge is wired to the new transmitter (usually a router) via an ethernet cable or coaxial cable.
PRO TIP! Setting up a wireless bridge can be tricky. Ever heard of setting up a static IP on your computer? Know how to play with a router’s advanced configuration settings? If not, opt for the Simple WiFi Repeater Kit for an easy, “non-techie” way to create a wireless bridge.
Next it’s time to choose an antenna!
WiFi antennas come in different shapes, strengths and sizes but in general they can be divided into two categories. Omni-Directional and Directional. Also known as multi-directional and uni-directional respectively.
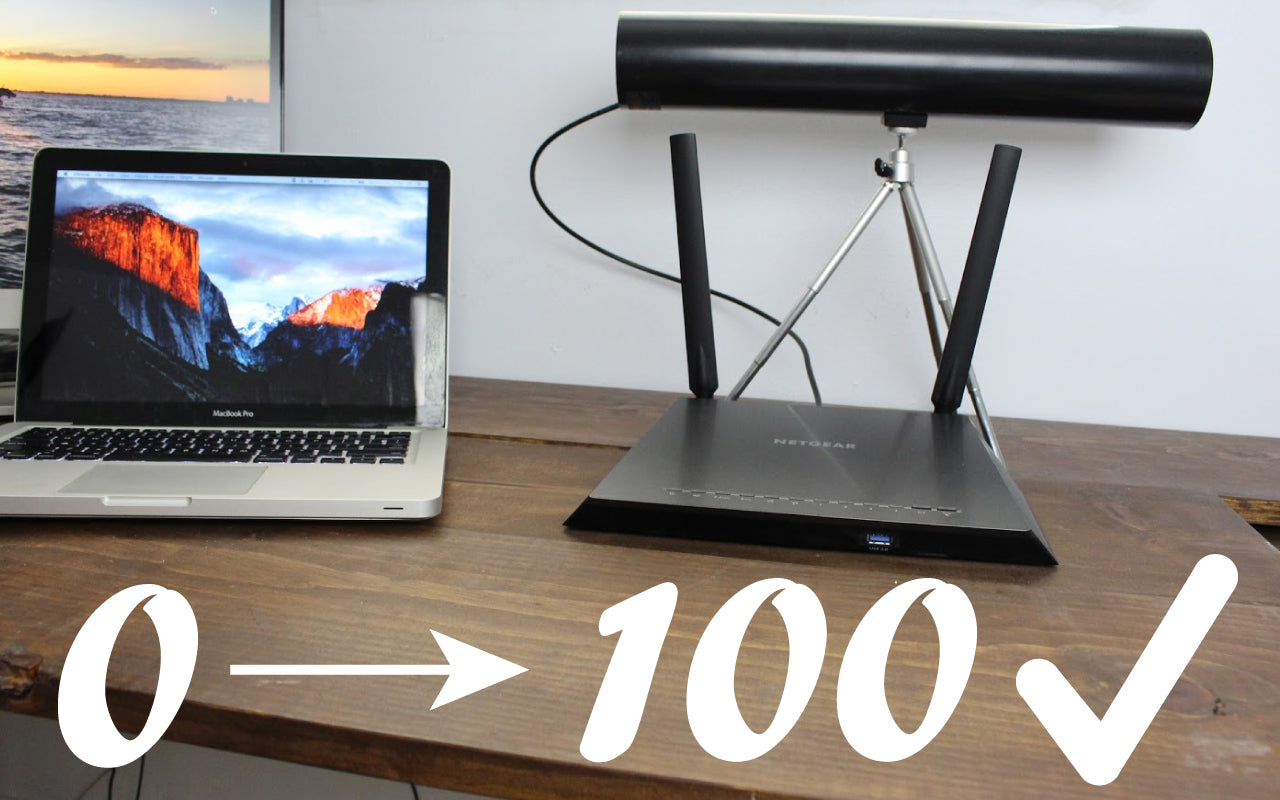
Omni-Directional Antennas- When thinking of this kind of antenna it’s best to think COVERAGE. Omni antennas send signal in a 360° radiation pattern coming from the antenna. That’s why you usually see these kind of antennas on routers, the little “rubber duckies” as their often called are put on home routers in an attempt to send signal everywhere. To visualize how an Omni-Directional antenna works, think of how light would radiate from a lamp. Light is sent from the bulb in every direction.
Directional Antennas - When thinking of this antenna it best to associate REACH. Directional antennas are best used when you know where the signal is coming from allowing you to focus more antenna strength towards the hotspot. These antennas are more often used in long range links since they allow you to reach further but also in short range links since they would provide faster speeds. Different kinds of directional antennas are: the Yagi, Panels, Sectorials and Parabolic's.
When looking for directional antennas it’s important to look for the “dBi” rating. Every WiFi antenna has a dBi rating, with higher ratings indicating the potential reach of an antenna. One thing to keep in mind is with a higher dBi rating comes a more directional radiation pattern from the antenna. This can make aiming a bit tricker since the antenna can only “hear” signal if it’s inside the radiation pattern. For reference, the 15dBi panel has a 32° radiation pattern while the 24dBi parabolic grid has a 7° pattern making it much stronger but harder to aim.
PRO TIP! Always opt for an outdoor antenna placement. Placing your antennas outside and connecting to your radio via cable is a great way to eliminate nearby obstructions like the walls and appliances of your home or building. The loss of signal from a cable run is offset greatly by using an outdoor antenna with clear line of sight.
Last and most often overlooked is cabling between your radios and antennas.
On a long run (over 40 ft) try to always use ethernet cable (CAT5) over coaxial cable whenever possible. When you use ethernet cable your signal changes from RF (Radio Frequency) into a data feed. Since the signal is data you have virtually no loss over a cable run of up to 300 feet and in some cases even more. On the flip side coaxial cable is “lossy” with even some of the thickest cable options like our L-400 series losing about 3dBi per 100 feet (this is called attenuation). In the case of high power outdoor antennas losing 3dBi is not a big deal compared to the gains in speed from avoiding obstructions but as a rule of thumb you should always go with the shortest cable run possible.
In general you always need a coaxial cable when going from an antenna to a radio. The radio can then convert the signal into data which can then use ethernet.
I hope that after reading this post you feel a bit more comfortable with WiFi equipment but as always if you have any questions feel free to email Support@SimpleWiFi.com or submit a support ticket.
4 comments
Reta Lema Roba
I need to have WiFi connection from 100m and above distance.
Lyman Clayton
I live in the mountains of western NC and have been looking for internet service. I contacted cherokee broadband and from their visit told us we had too many trees around our house. Would an outside wifi antannae help in this situation? I have been looking at king rv wifi antennas. Thx in advance.
Jerry Humbert
Very good info, i used this info to connect a Tablo to my Roku, i live out in the country and in a valley with hills all around, of course the tv stations are in the direction of the tallest hill ( elevation from house to top of hill is 135 ft.) so it would take a tv antenna tower at the house to be 150 feet tall just to receive the signal 15 feet above the hills crest, long story short, i tore into the tablo unit, removed the internal antennas, added a 15db external antenna, pointed it at my wireless router ( 900 ft away) at the house and now can enjoy local channels on my tv through my Roku. using a solar panel and a 12 volt car battery to power the tablo works great at this location.
jacqui donaghy
What the difference to a HUAWEI Router A2. My Wifi from my local provider fastcom is always beaking down & very poor quality.
If I plug one of these in will i have better wifi?
I live on a mountain in the country where the cable network is bad.